
How to Install Google Custom Search Engines on Blog

Here I strongly recommend using Google-only searches on blogs, because the results will be more relevant and more complete than the usual search function. What's more if you are a Google AdSense Publisher. You can easily monetize your blog with this special search box. Later, AdSense ads will be displayed on the blog search results page.
How to Create and Install Google Custom Search Engine Widgets on Blog
Make Google Custom Search Engines
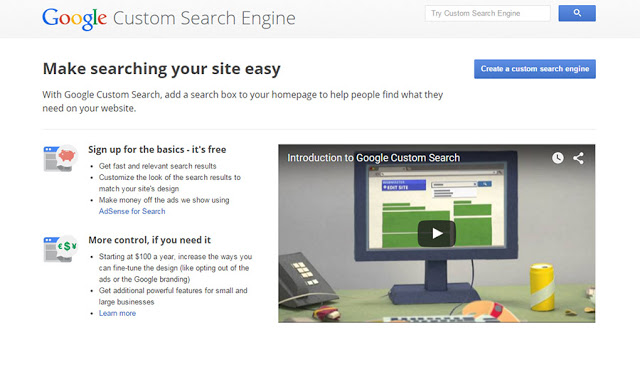
1. Please visit the Google Custom Search site at https://cse.google.com/cse/
2. Then please click the Create a custom search engine button to log in to CSE

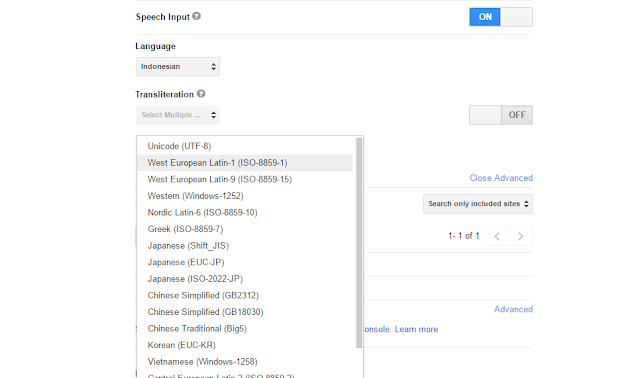
B. Change the language setting according to the language used
C. Search engine name
D. After determining the settings above, click the CREATE button
5. Then click the Get code / Get code button

Additional: To make the Google Custom Search Widget Valid HTML5, please change the code below (obtained from step 6)
<script>
  (function() {
    var cx = '0042338702122944256622:gmb5qovgjko';
    var gcse = document.createElement('script');
    gcse.type = 'text/javascript';
    gcse.async = true;
    gcse.src = 'https://cse.google.com/cse.js?cx=' + cx;
    var s = document.getElementsByTagName('script')[0];
    s.parentNode.insertBefore(gcse, s);
  })();
</script>
<gcse:searchresults-only></gcse:searchresults-only>
Ganti kode yang ditandai dengan kode di bawah ini
Ini berlaku untuk semua tata letak, seperti <gcse:search>, <gcse:searchbox>, <gcse:searchresults>, atau <gcse:searchbox-only>
<div id="gcsengine"></div>
<script>
var gcseDiv = document.getElementById('gcsengine');
gcseDiv.innerHTML = '<gcse:searchresults-only></gcse:searchresults-only>'
</script>
So the results will look like this
<div id="gcsengine"></div>
<script>
var gcseDiv = document.getElementById('gcsengine');
gcseDiv.innerHTML = '<gcse:searchresults-only></gcse:searchresults-only>'
</script>
<script>
(function() {
var cx = '0042338702122944256622:gmb5qovgjko';
var gcse = document.createElement('script');
gcse.type = 'text/javascript';
gcse.async = true;
gcse.src = (document.location.protocol == 'https:' ? 'https:' : 'http:') +
'//cse.google.com/cse.js?cx=' + cx;
var s = document.getElementsByTagName('script')[0];
s.parentNode.insertBefore(gcse, s);
})();
</script>
Installing the Google Custom Search Engine Widget on the Blog
1. Log in to Blogger> Layout> Create a new widget (HTML / JavaScript)> Add the code that was copied to the new widget> Click save and see the results.
Monetize Google CSE with AdSense
1. Make sure you already have a blog that you can add Google AdSense
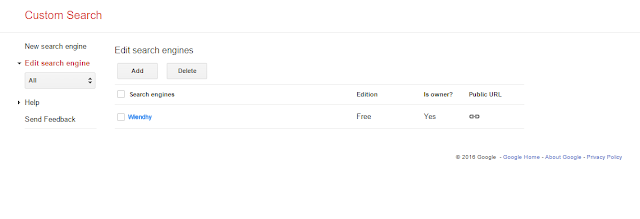
2. Please log in to Google CSE http://www.google.com/cse/
3. Click the Search Engine Name that you have made earlier
4. Select the Setup Menu
5. There are Basics Tabs (Basics), Make money, Admin, and Indexing. Now, please click on the Make money tab.
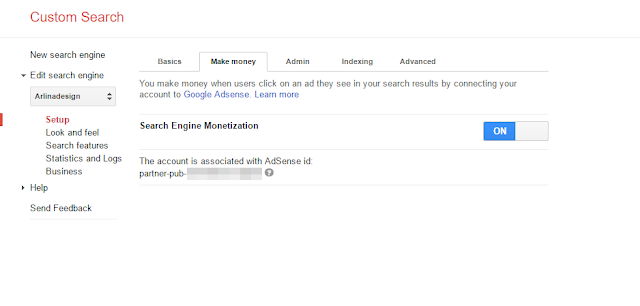
6. Please click the Active button on the Search Engine Monetization option.
Regular Search Box Modification by Adding Custom Search Engine Functions
1. If you want to install the CSE function in the search box that is already in the template, please log in to Google CSE http://www.google.com/cse/> Click on the Basics menu> There is a Our unique search engine ID is given by Google Search Engine> Click the Search engine ID button> Then copy the code in notepad.

<div id="gcsengine"></div>
<script>
var gcseDiv = document.getElementById('gcsengine');
gcseDiv.innerHTML = '<gcse:searchresults-only></gcse:searchresults-only>'
</script>
<script>
(function() {
var cx = '004846510630198233812:gmb5qovgjko';
var gcse = document.createElement('script');
gcse.type = 'text/javascript';
gcse.async = true;
gcse.src = (document.location.protocol == 'https:' ? 'https:' : 'http:') +
'//cse.google.com/cse.js?cx=' + cx;
var s = document.getElementsByTagName('script')[0];
s.parentNode.insertBefore(gcse, s);
})();
</script>
Copy the code as above into the HTML post static tab> Then Publish post. Suppose you make a static post with the title "Search CSE", then the url you get is "you_blog.com/p/search-cse.html"
4. Then open Template> Edit HTML> Search HTML from the Search Box on the template> Here is an example of HTML Search Box in the blog template that I use
<form action='/search' class='searchform' method='get'>
<table>
<tbody>
<tr>
<td class='search-box'>
<input id='search-box' name='q' onblur='if(this.value=='')this.value=this.defaultValue;' onfocus='if(this.value==this.defaultValue)this.value='';' type='text' value='Search...'/>
</td>
<td class='search-button'>
<input id='search-button' type='submit' value=''/>
</td>
</tr>
</tbody>
</table>
</form>
5. Then add this code in your search box
<input type='hidden' name='cx' value='partner-pub-0042338702122944256622:gmb5qovgjko' />
<input type='hidden' name='cof' value='FORID:10' />
<input type='hidden' name='ie' value='ISO-8859-1' />
The code marked is the Search Engine ID code that you previously copied in notepad, replace the code marked with your blog's Search Engine ID code.
6. Then pay attention to the code below
<form action='/search' class='searchform' method='get'>
Please change the above code with the code below
<form action='blog_anda.com/p/search-cse.html' class='searchform'>
7. Then the results will be like this
<form action='blog_anda.com/p/search-cse.html' class='searchform'>
<input name='cx' type='hidden' value='partner-pub-0042338702122944256622:gmb5qovgjko'/>
<input name='cof' type='hidden' value='FORID:10'/>
<input name='ie' type='hidden' value='ISO-8859-1'/>
<table>
<tbody>
<tr>
<td class='search-box'>
<input id='search-box' name='q' onblur='if(this.value=='')this.value=this.defaultValue;' onfocus='if(this.value==this.defaultValue)this.value='';' type='text' value='Search...'/>
</td>
<td class='search-button'>
<input id='search-button' type='submit' value=''/>
</td>
</tr>
</tbody>
</table>
</form>
8. Save the template and see the results.
Done, until here we have added Google Search Engine to the blog search box.
Additional
A few trinkets to decorate the CSE display on the blog by adding the code below before </head> then change the code marked with the post static CSE blog url.
<b:if cond='data:blog.url == "blog_anda.com/p/search-cse.html"'>
<style type='text/css'>
.post-body{background:url(https://blogger.googleusercontent.com/img/b/R29vZ2xl/AVvXsEiMI664STw3cYLT6LI0Ee5SJAAqgfsa6REUJWC2YU1S8FxsL7qr9T6BxpKD03t7ZWZTbQkNMA9Cnuhgq4sgijhubjxhfnGyRJo-uU8OZQY5OKBuKMutPFZXucMd2eFOJJWnPgiZf5ENKHqU/s1600/preloader.gif)50% 10% no-repeat!important;padding:60px;margin:0}
#gcsengine{margin-top:-70px}
</style>
</b:if>
That is the information I can give to blogger friends about How to Install Google Custom Search Engines on Blog. Hopefully useful for all friends.

Inayah
I really like fishing in murky waters...


